

Step 1
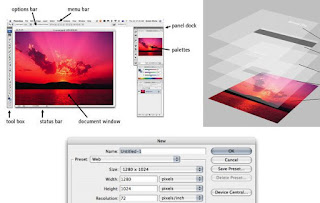
Create a new RGB document in Illustrator at 300 DPI with a resolution of 960px x 640px. Create a rectangle using a light gray color, and then create some white text on top. We used the font Cocktail Shaker.
Expand the text by clicking Object > Expand or by right clicking the text and selecting Create Outlines. Click the Unite Button in the Pathfinder palette to merge any overlapping letters into a single shape.
Your image should look like the one below.

Step 2
With the text shape selected, click Effect > 3D > Extrude & Bevel and apply the following settings to achieve the effect below.

Step 3
Duplicate the 3D text and click Object > Expand Appearance. Select the faces of the text and copy them by pressing CTRL + C.

Delete the duplicate you created and paste the faces of the text back into place by pressing CTRL + F.
Step 4
Change the color of the new shape to white and move it into place directly on top of the 3D text. Give it a white stroke with a thickness of 0.1pt to cover up any edges of the darker text underneath that might show around the edges.

Step 5
Duplicate the white text shape, remove the stroke, and give it a dark gray to almost black gradient.
Move the dark gray text layer up and to the left a couple of pixels.

Step 6
Next we will create some shadows for the 3D text.
Duplicate the white text layer, change the color to black, and move it into place beneath the 3D text.
Click Effect > Blur > Gaussian Blur and use a radius of about 15px. Change the opacity of this shadow layer to 55%.
Step 7
Duplicate the shadow layer, and adjust the Gaussian Blur settings by clicking Gaussian Blur in the Appearance palette.
Give it a radius of 80px and change the opacity to 60%.

Step 8
Give the background a light gray gradient from top to bottom.

Step 9
With the background selected, click Effect > Stylize > Inner Glow and use the following settings to get the effect below.

Step 10
Find a grungy texture (we used our Concrete Texture 13), resize and/or crop your grunge texture to 960px x 640px and place it in your Illustrator document.
Change the blending mode to Color Burn.
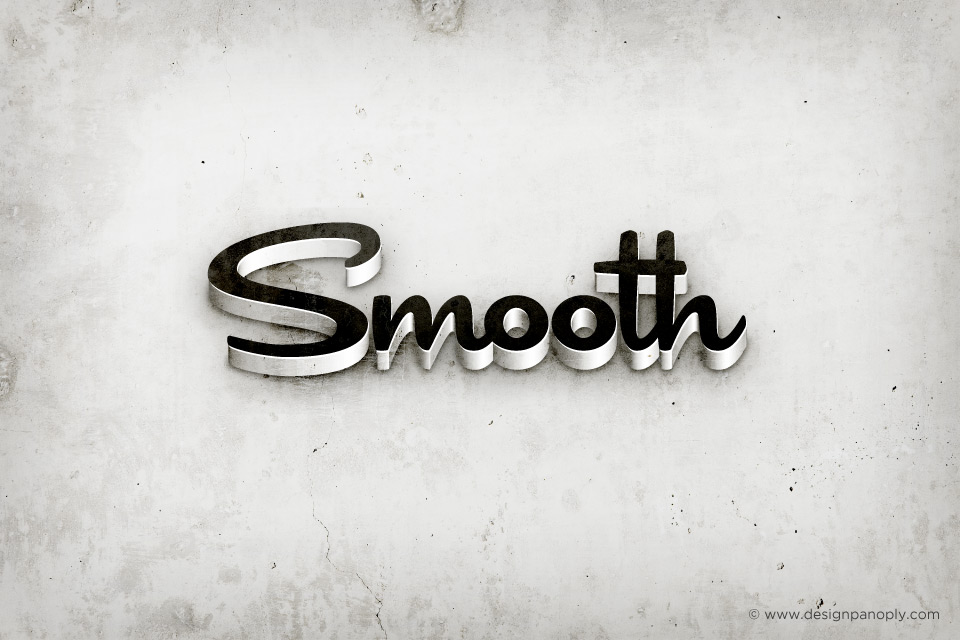
Final Image

0 Comments